

Simple interior wall cladding is making a comeback in home decor, from shiplap to salvaged barn board wood, giving rooms a style and texture boost. Here’s how to pick your style of wall or Ceiling lining for your interior space
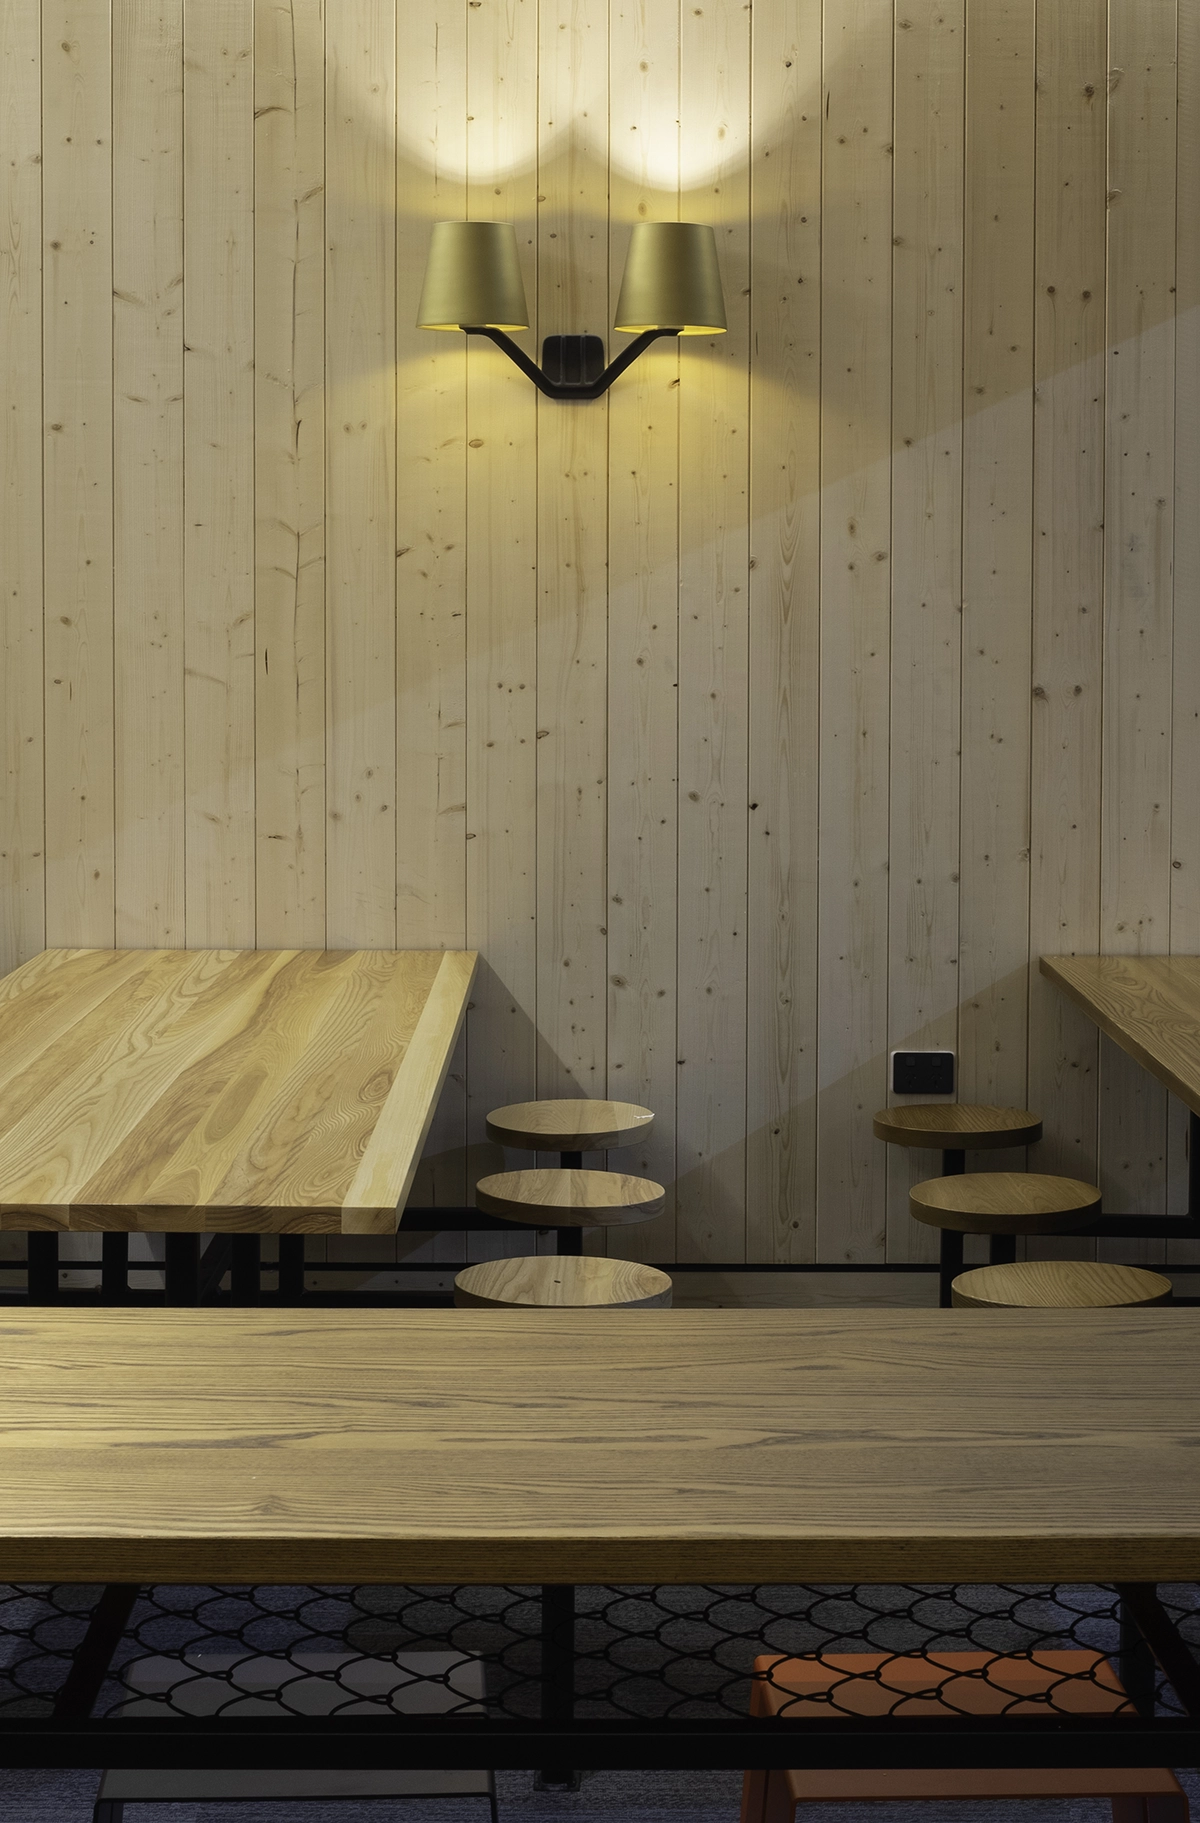
Timber walls have a long and illustrious history. Boards and shingles that skinned over a house’s skeleton often formed the interior surfaces as well in early colonial times. The partition walls were made of planks. Vertical boards were later nailed to studs and often had a decorative bead or chamfered V along the edges.
Timber panelling was commonly used on non-plastered walls. Most homes had flat-backed claddings similar to those used on the exterior of a home—usually boards with interlocking “lapped” or tongue-and-groove joints to keep out water and cold winds—while the wealthy had fancy woodwork. Decorative beaded boards were commonly used to cover walls in utility areas such as kitchens and baths when factory millwork became available in the Victorian era.
Simple, practical, and attractive, such wall claddings are back in demand once more. Designers are specifying them everywhere from formal homes to industrial spaces, and with new modern panelling products that make installation quicker and easier. We can help you in understand some of the options available below.
DIY or Hire a Professional?
While installing your own wall or ceiling panelling may seem like a good project for DIYers we recommend using a pro or having experience with renovating. The biggest challenges are starting off perfectly level and working around obstacles such as windows and doors. Doing a ceiling? You may want to go pro.
Maintenance?
As long as wood cladding has been properly installed with sufficient room for expansion, it should last the life of the house. Dings and moisture damage may be more noticeable on MDF.
Here’s a look at some of the most popular types of wall coverings —how simple or detailed the profile is, and what type of finish you choose, all influence the overall effect it creates in an interior space.
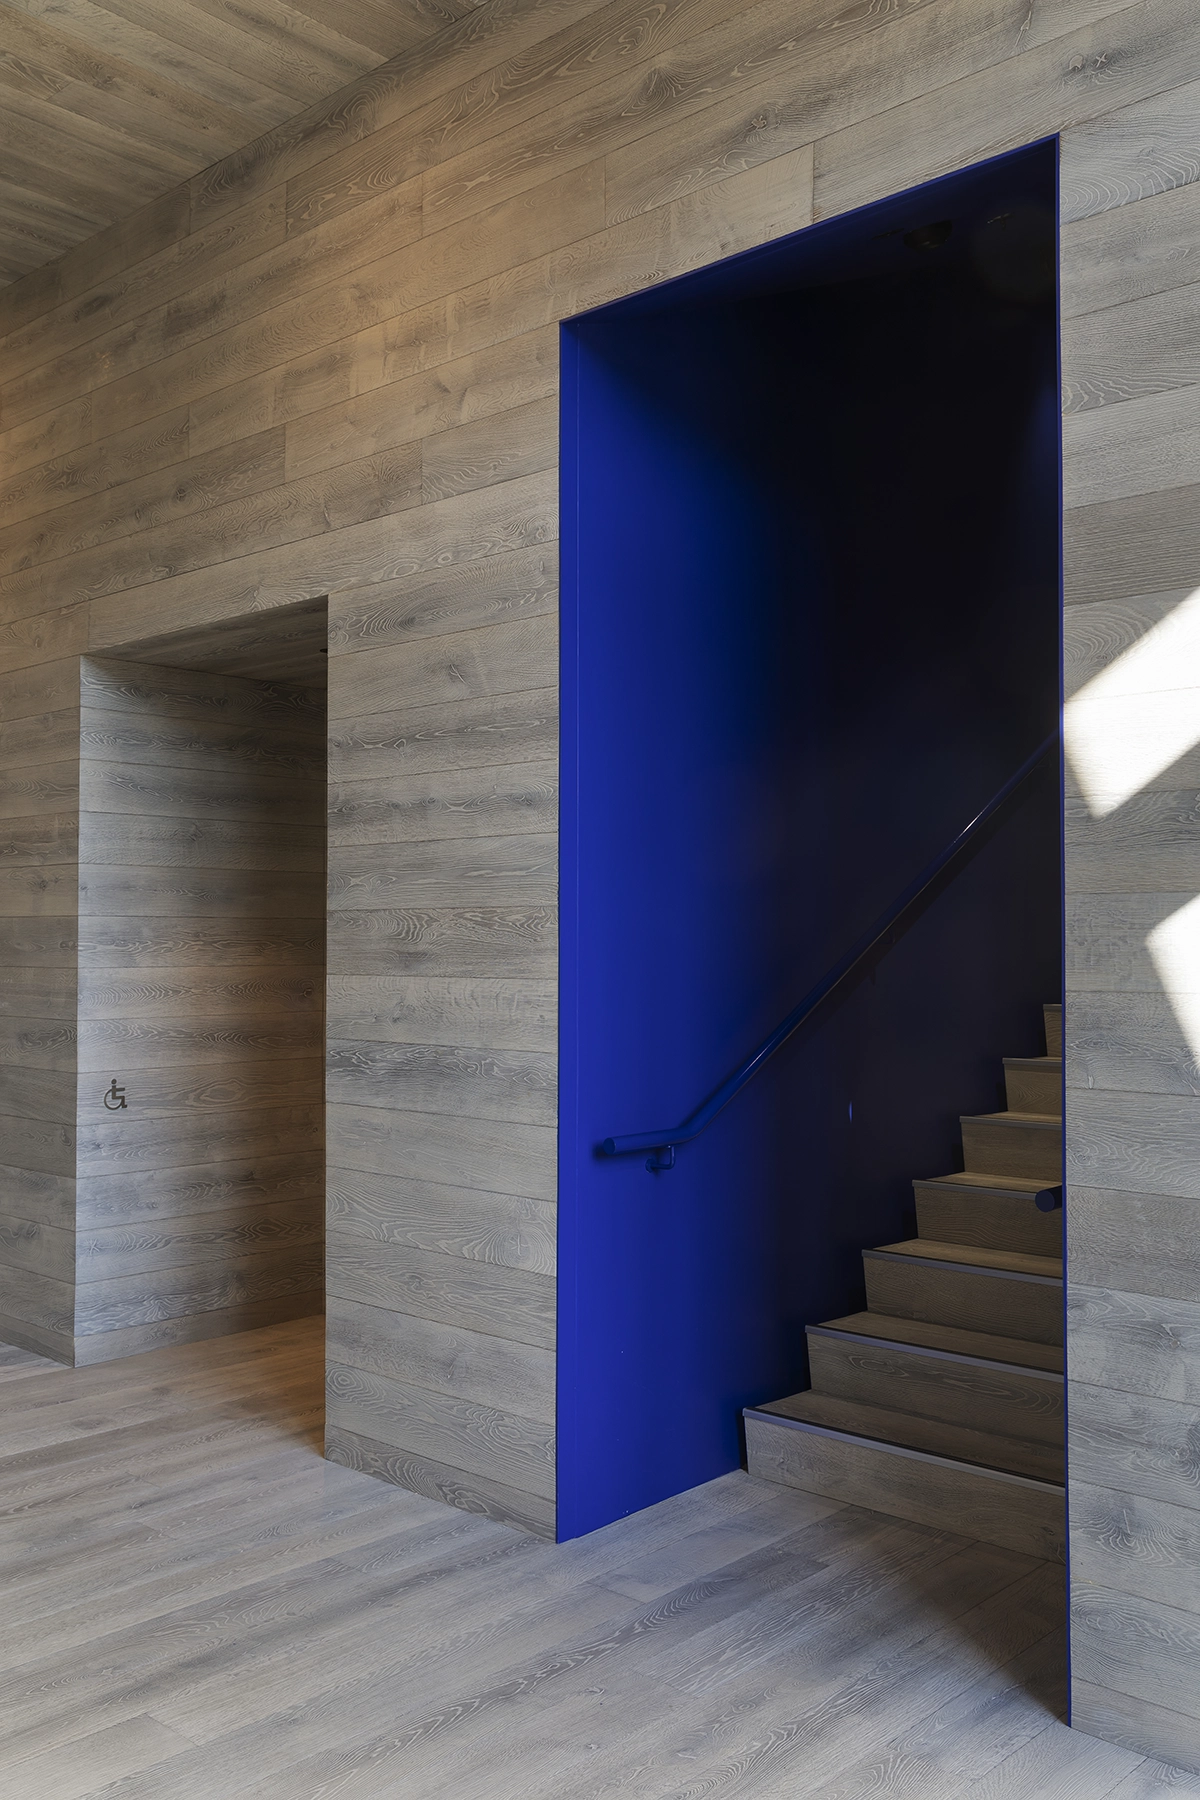
V-Groove boards are milled with chamfered edges on both sides, forming a V shape when the tongue-and-groove (or shiplap) joints come together. V groove planks in varying widths were a common wall cladding in colonial-era homes, often given a matte-paint finish. Like square-edged shiplap, they are prized today for their modern simplicity. Available in wood and MDF making it suitable for various applications such as walls or ceilings.

Rustic or reclaimed planking can be anything from old timber barn boards to pallet wood to common timber made to look old through a finishing process. Planks can be nailed up with little to no space end to end, but pay attention to staggering the joints. Genuine reclaimed boards may not have milled edges to conceal gaps and will need space for expansion. Painting the wall black before installation will keep any unwanted colours from showing through.
Shiplap
Shiplap actually refers to a type of joint, rather than a decorative cladding treatment. Horizontally laid boards are rabbeted along their sides to interlock for a tight seal.
Today it is common to have them milled with a “nickel gap” of about 3mm along the top edge to create a shadow line that highlights the individual boards. DIYers often install MDF strips on the wall with space in between to give the look of shiplap.
Beadboard
Beadboard is traditionally “stick-built” using 64mm wide strips of wood with a beaded edge milled along the tongue side and a matching rounded (or a chamfered) edge on the groove side to hide the joint. These fit together to form one continuous wall covering.
Today you can get wider planks with multiple beads, and plywood or MDF sheets with multiple rows of beads milled in, replicate the traditional look while saving installation time.
Board-and-Batten
Board and Batten is traditionally built as a series of vertical boards overlaid with strips of wood, or battens, covering the joints. Today plywood, MDF or solid timber may be used for interior board and battens, with strips installed every 200 to 250mm, covering joints as they occur. A popular DIY shortcut is to adhere battens directly to the wall, then giving the entire wall a paint finish.
Drop Siding
Drop Siding is a historical type of shiplap, typically featuring a cove along the top of the board to encourage water shedding. (Square off that curve and you have channel siding.) Because it is a flat-backed siding, it easily makes the transition to interior use. Millwork shops can add a bead along the bottom or any other custom detail that you like.
Interior wall lining can be made from a variety of different materials. Discover the best uses for these different timbers.
Most cladding is made from either solid or engineered wood.
You can find solid or engineered wood tongue-and-groove or shiplap boards in a range of species, from budget-friendly pine and oak to pricier options like redwood, cypress, and cedar panelling.
Since natural timber expands and contracts over time, it’s critical that it is given room to move during installation. It may be heavier than manufactured products, so it needs proper fastening and likely another pair of hands to install.
At VidaSpace our timber panelling can come in a prefinished or unfinished option. Prefinished products save time, money, and installation headaches. Each plank is unique without the hassle of hand prepping.
Finishing tip: Ask for a clear wood that’s smooth and free of knots for the optimal paint or staining job. Otherwise, knots will need to be filled, sanded, and primed before painting/staining. You can leave the wood bare, but it will be susceptible to dirt and stains. A coat of water-based polyurethane or wax will protect it while highlighting the natural colour.
Reclaimed wood boards can be found in a variety of species and dimensions, whether rescued from old barns or factory floors. The wood is unmatched in character and saves trees from being cut down, but it won’t always be in ready-to-use condition if bought from salvage yards. They would need to be cleaned, planed so they lie flat on the wall, and ideally kiln-dried; otherwise, they may warp. Kiln-drying also eliminates any insects hiding inside. it can then be prefinished and/or milled into any style of wall cladding you want. At VidaSpace we supply a range of Reclaimed timber that is in a ready to install condition.
Finishing tip: Reclaimed wood is a good candidate for a distressed or weathered paint finish or a stain that doesn’t completely hide the wood grain. Often, reclaimed wood is left as-is, but old paint could be lead-based, so make sure to seal it with a water-based polyurethane before.
Fiberboard/Plywood
Milled sheets of MDF or plywood are a popular choice among DIYers, since they are budget-friendly, and manufacturers are able to achieve a convincing bead or groove. MDF is also more stable overall than solid or engineered wood where there are swings in temperature, but on the downside, if it gets wet it can soak up moisture like a sponge, swell, and crumble. Some companies offer moisture-resistant (or MR) MDF for wet-area installations. For wall cladding, MDF is most commonly used as battens or sheets.
Finishing tip: Smooth MDF takes paint beautifully, and since it cannot be stained, it typically comes pre-primed. If you’re priming it yourself, be sure to use a shellac primer on all six sides, paying special attention to any cut edges; avoid water-based primers, which can cause cut edges to swell.
Things to know before you begin, whether you DIY or hire a professional

Installing wood panelling on a ceiling is an excellent way to finish a room and add some subtle drama. Wood panelling is often used on a ceiling that is vaulted or has exposed beams, but this material can be installed in any room.
For a bold and cohesive look, matching the panelling on your ceiling with your wall panelling can create an enhanced, enveloped effect.
One thing to consider when putting new panelling on a ceiling is the weight of different panel types and if these will work with the structure of your home.
At VidaSpace we sell some of the wood panelling products mentioned throughout this article. If you are unable to find the style you are looking for in our collections, home centres such as Bunnings or Mitre 10 sell a variety of manufactured wood and MDF wall panelling products.
View our timber wall lining products
Elevate your interior with VidaSpace. Contact us and one of our team of trained interior designers will be able to guide you through the process.


